I was talking to a rubber stamp business owner at a convention this spring, and he commented that convention-goers were desperate to take lessons from the vendors to they could learn about new products and different techniques. One class I was lucky enough to take years ago was "Scenic Stamping," which covered how to create realistic (or whimical) scenes using a number of rubber stamps. The technique that gives a scene depth is called 'masking.' Masking is covering up something you already stamped. Then, you can stamp over it, and when you remove the mask, the first image appears in the foreground and the second image you stamped appears in the background.
Here's a quick tutorial on the basics of masking.
First, decide what kind of scene you plan to stamp. I wanted to make an ATC (artist trading card) of a haunted house. I selected several stamps in my stash that I thought would work. Then, I stamped out a general composition for the scene. Notice that the stamped images overlap one another.
 |
| Rough composition. |
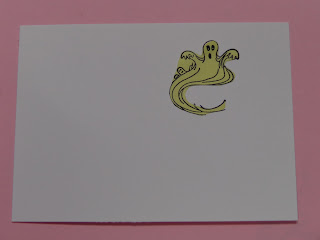
I stamped the ghost onto cardstock, then covered it with its mask. The second image I stamped was the house. Masked it, too, because I wanted to add clouds to the sky, and a pumkin in the window.
To add the pumpkin, I cut out the window from the mask, put it back in place over the house, and then used a stamp positioner to stamp the pumpkin.
A stamp positioner is the best way to place a stamp just where you want it (whether it's a pumpkin in a window or a greeting on a card). The 'L' shaped positioner comes with a piece of clear plastic. Slide the plastic into the 90 degree angle of the positioner, and stamp your image onto the plastic, being careful to place the wood or acrylic block right next to the positioner. Remove the stamp. Pick up the plastic sheet and place it on your work, arranging the stamped image just where you want it. The clear plastic allows you to see where the image should be stamped. Hold the plastic down, and slide the positioner back in place. Remove the plastic sheet, holding the positioner still, and stamp your image, again being careful to place the block right next to the positioner. That's all it takes.
I added color to the sky and the foreground. You can do this any way you like, but I prefer Judi-Kins color duster brushes with ink from pads.
Once the background and foreground were finished, I removed the masks and added a few more details -- the cat, bats and cobweb. The scene is complete and ready to color.
The trickiest thing to learn about creating a scene (in my opinion) is figuring out what you need to stamp and mask first. I'll show you more about that in my next post!
Now go stamp something quick!
Here's the finished ATC.
Stamp credits: ghost - unknown; house - Viva Las Vegas Stamps; cat, bat and pumpkin - Hero Arts?; cloudy sky - Stampscapes; grass - unknown


No comments:
Post a Comment