I haven't done much sewing lately, but I cleared my work room of everything else and began an Irish fabric quilt on Easter Sunday. I'm sewing with a heavy heart, for I'm making this quilt to donate to a charity auction being held for a young man in my neighborhood who was recently diagnosed with ALS.
Amyotrophic lateral sclerosis (ALS), often referred to as "Lou Gehrig's Disease," is a neurodegenerative disease that affects nerve cells in the brain and the spinal cord. The progressive degeneration of the motor neurons eventually leads to a patient's death. The ability to control muscle movement is lost, and patients in the later stages of the disease may become totally paralyzed. People with ALS live about three to five years after diagnosis.
Lou Gehrig played for the New York Yankees from 1923 to 1939. He retired from baseball at age 36 because of the symptoms of ALS, and died two years later. This illness has become known as 'Lou Gerhig's Disease' because of the attention brought to it through his life and death. Many major league baseball teams, including the Philadelphia Phillies, hold fundraisers annually to help with the research that will someday lead to better treatment or a cure. This year the Phillies Phestival is scheduled for May 16. Tickets go on sale April 12. Read more about it on the Community page at
http://philadelphia.phillies.mlb.com .
The book "Tuesdays with Morrie" by Mitch Albom tells the touching story about a student who, 16 years after graduation, reaches out to his professor who is dying of ALS. If you haven't read it yet, check it out of the library and take the time. For more information about this disease, try
www.alsa.org.
Back to sewing...I saw this quilt block pattern on Pinterest. It was designed by Megan Bohr. It's called "Chevron and On" -- search for it here:
http://www.heyquilty.com/articles
 |
| A 'Chevron and On' block made in Irish print fabrics |
The first thing I did was sketch out the design. I decided to 'super-size' the blocks and make them 12" finished size.
 |
| A quick layout of the baby quilt |
By super-sizing the blocks, I would save time and money -- I needed only 16 fabrics, plus white, and the larger design would sew up quickly. The fundraiser was only 12 days away, so this project needed to be fast.
Now, I have been making Irish-themed baby quilts for some time...my nieces ask for them when they are pregnant. Every time I see a Irish-themed print, or even a green print or solid, I buy anywhere from 1/2 yard to 2 yards. As a result, I have accumulated quite a stash of shamrock and Irish-print fabrics. I didn't realize just how many fabrics I had collected until I began selecting prints for this quilt. (I know, it's an addiction!)
 |
| My stash of 52 Irish print fabrics...that doesn't include the solid green or green prints! |
After picking out light, medium and dark fabrics (and small, medium and large prints), I was ready to begin cutting.
The pattern incorporates half-square triangles, so I cut one square of each print fabric 6 7/8", and another square 6 1/2".
 |
| Print fabrics cut into two different size squares |
Half of the white fabric was cut into 6 7/8" by 42" strips. From that, I cut 16 6 7/8" squares. The remaining fabric was cut first into strips 6 1/2" x 42", then into 16 6 1/2" squares.
 |
| A rotary cutter and ruler makes the job go faster! |
The 6 7/8" squares allow me to make 2 6 1/2" half-square triangle blocks quickly. Here's how. Layer the two 6 7/8" squares on top of one another (one print and one solid), right sides together. Draw a line across the diagonal of the square. This is the cutting line.
 |
| Draw a cutting line on the diagonal, seen here in purple. |
Now draw a line on either side of the cutting line, 1/4" away. These are the stitching lines.
 |
| The stitching lines are drawn in blue. |
Take the blocks to your machine and stitch along the stitching lines. Cut the block along the cutting line, and open up the blocks.
 |
| With a quick snip, you'll have two 6 1/2" squares! |
Press the blocks, with the seam allowances to the 'dark' side of each block. Now you have two complete half-square triangle blocks.
 |
| Viola! |
I referred to my sketch frequently when I began to sew the blocks together. To make it a bit easier, I sewed a half-square triangle block to the print first, then the other half-square triangle block to the white, pressing each seam allowance as I went. Then I pinned the two pieces together and stitched them up. The 16 blocks went together quickly.
The fun part of making a quilt like this is laying out the blocks. I wanted to be sure I didn't put a dark fabric next to another dark fabric, and likewise, I wanted the spread out the large scale prints. Once I had the layout down, I stacked up the rows and went back to the sewing machine to complete the quilt top.
 |
| I tried to mix up dark and light fabrics, large and small prints. |
I gave the top a good pressing, and then layered the 'quilt sandwich.' I had a 2 1/2 yard piece of green print in my stash that worked for the backing, although I did have to piece it together to make it large enough. I laid the backing on my cutting table, wrong side up. Then I topped it with a piece of batting. I prefer "Warm and Natural" brand batting...it's not very thick, but it holds up well to repeated washing. Then, I placed the quilt top over the batting, and smoothed out all of the wrinkles, and made sure that the backing and batting were large enough to cover the back of the quilt. I use large safety pins to hold the quilt sandwich together for machine quilting, so the fabrics don't shift during the sewing process. Some quilters hand-baste their tops together, but I find, for a small project, safety pins work great.
 |
| I try to use three or four pins on each square within the block. |
For this quilt, I decided to simply stitch around each blocks, using a method called "stitch in the ditch." Basically, that means the stitching should be made in the 'well' of the seam where the patches meet. It takes a little practice to do this, and it really helps if you have a even-feed foot for your sewing machine.
After the quilting was finished, I clipped all the loose threads, and started with my binding. I usually like to make bias binding, but I didn't have enough fabric for that, so I used strips cut on the straight grain of the fabric. I did have to piece together several strips to make a binding long enough to go around the circumference of the quilt. I sewed the strips together on a diagonal...that keeps the binding from getting bulky when it is sewn to the edges of the quilt.
This is easy to do -- just lay two strips at a right angle to each other, and draw a diagonal line from one corner to the other. Stitch along the line, and trim off the excess.
I use a double-fold (also called French) binding. To calculate the width to cut my strip, I use the following formula: (2 x finished binding width + seam allowance) x 2. So, for a 3/8" wide binding, I made the strip 2" wide [(3/8" x 2) + 1/4" = 1" x 2 = 2" wide]. And you thought you'd never need math as an adult!
After cutting the strips, stitching them up and pressing them open, I folded the strip in half lengthwise and pressed it again. Now it was ready to stitch onto the quilt.
Starting and ending the binding was always a bit difficult for me, as I couldn't get it to lay smooth without a lot of bulk. Then I discovered a method by Becky Herdle.
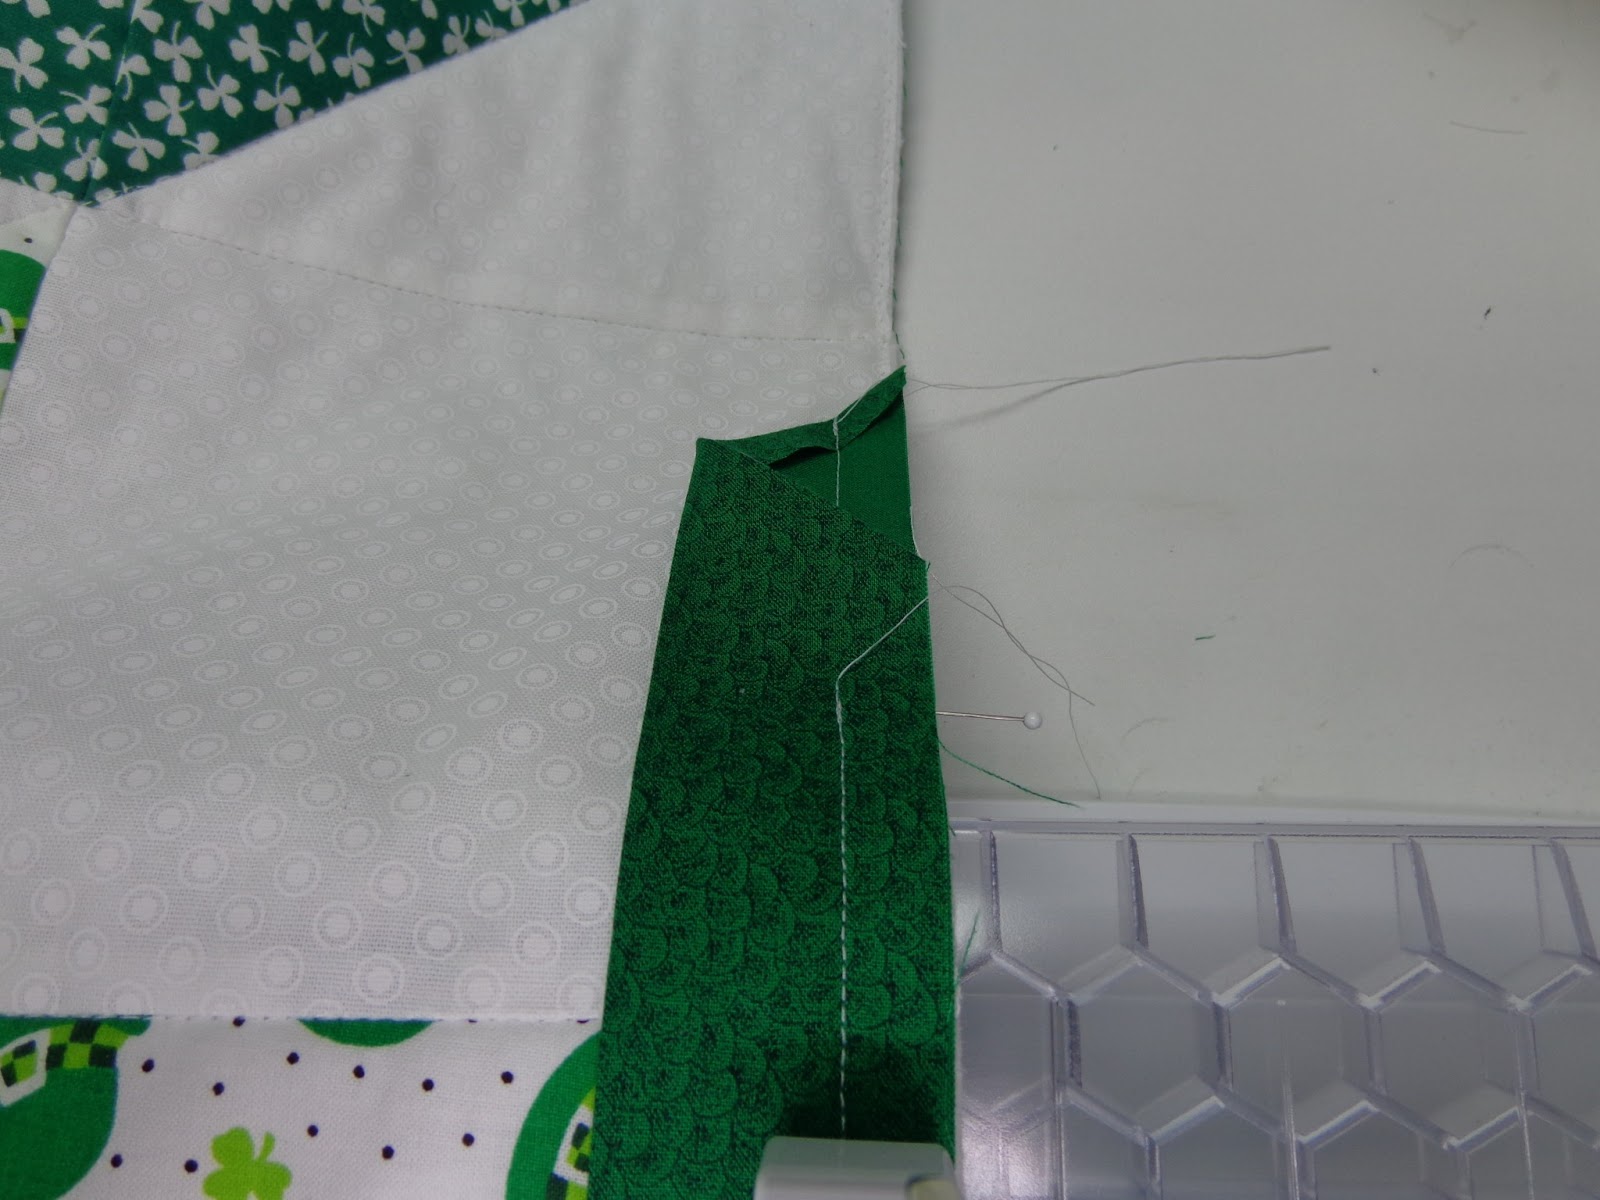
First, start at the end of the binding, open the strip, fold the end on the diagonal and press. Trim a 1/4" away from the diagonal fold. Starting on one side of the quilt, pin the first 3 to 4 inches of binding to the quilt with the fold
open, keeping the raw edge of the binding and the quilt even. Sew through one binding thickness for 3 to 4 inches, backstitch and clip the threads.
Lift the presser foot and fold the binding into the doubled position. Continue to sew the binding around the quilt. After you have sewn around the whole quilt and return to the starting point, lower the needle into the first stitch.
Lay the binding over the single thickness sewn at the start and tuck the end into the pocket formed. Cut off excess length. Continue stitching through all thicknesses until you reach the second 'starting' point.
The beauty of this method is that the ends are hidden, and there is no bulk where you started and finished stitching the binding.
I also miter the corners of the quilt binding. Most basic quilting books can teach you how to do this...here's what I do. As I approach a corner, I stop (with the needle down in the fabric) and place a pin perpendicular to the stitching, exactly the distance of the seam allowance, from the side of the quilt. This tells me where to stop stitching.
I continue stitching until the reach the pin, backstitch, and cut the thread. Then I flip the binding up so it is perpendicular to the binding that I just stitched down, creating a diagonal fold from the corner to the center of the quilt.
Then I fold the binding back down on itself. The fold should be even with the edge of the quilt on one side and the binding should align with the raw edge of the quilt on the other. Start stitching down the side, beginning the width of your seam allowance from the top edge and from the side edge of the quilt (in this case, a quarter inch from the two sides of the corner). You can place a pin exactly where to begin. Having done this on several quilts, I can do it by 'feel' now and the pin is simply holding the binding so it doesn't move when I sew.
Make sure to use the same seam allowance width. Continue on, and repeat the the next corner. (You may want to practice this before you try it on a quilt. Just cut an 8" square and about 2 feet of binding, and play around until you get the hang of it.) Press the binding well, pulling it away from the quilt so the seam is nice and flat, and fold the binding to the back of the quilt. The corners will miter perfectly.
Now it's time for the needle and thread work. I always blind stitch the binding to the quilt on the back side. Some people prefer to pin the binding in place on the back of the quilt, but I find that pins get in the way. Sometimes I use clips, other times I just hold it in place as I sew. This baby quilt took about 3 hours of hand stitching, which I did while watching television with my d.h.
I was happy to deliver the quilt a couple of days early...I hope that someone will fall in love with it and make a hefty donation our friends coping with ALS.
 |
| Irish Chevron and On Quilt by Renee Devine |
P.S. There's one more thing I'd like the non-quilters who read my blog to know...what it costs to make a 48" square baby quilt like this. High quality quilting fabrics now cost $10.99 a yard. There are 16 different fabrics that make up the blocks; a quarter of a yard of each would run $44. Then, there are about 2 yards each of white and green fabric (for the back and binding), plus a piece of Warm and Natural batting for the middle of the quilt sandwich: add another $56. So, before I spend even an hour of my time, the value of this quilt is $100. The moral of the story is this: if someone gives you the gift of a hand-made quilt,
it is very special! We do this because we love you! And, if you ever consider buying a hand-made quilt, don't be surprised by the price and
don't try to bargain with the artist. It's worth every penny!