I was browsing on Pinterest the other day, and saw a pin called something like "10 Ways to Organize Your Life and Reduce Stress." The writer did have some good ideas -- encouraging kids to help out, 'a place for everything and everything in its place,' doing a quick wipe down of the bathroom before going to bed every night. Some of her suggestions, though, didn't work for me, and I realized that organizing your life is not a 'one size fits all' proposition. As you move through various stages of adulthood, the demands on your time change, and you may have to re-think how you approach a certain task. This must be why women's magazines run "Organize Your Life!" articles every year.
So, for what's it worth, here are some of the organizing (and de-stressing) tips that have worked for me and my family.
1) "
I cook, you clean." This is very simple. Whoever cooks the meal gets to put their feet up after dinner, and the other partner cleans up the kitchen. What's even greater: when you have kids, they can help the dish washer, and once they hit, oh, about 12 or 13, they can do all of the dishes themselves, while Mom and Dad both put their feet up.

For those of you who aren't married yet, I suggest that you start "I cook, you clean" from the very beginning. Your partner will probably want to hang out with you in the kitchen anyway -- just hand them a towel and ask them to help.
2
) Prepare brown bag lunches the night before (right after you eat dinner is even better). There are several good reasons to take your lunch to work (or have your kids take a lunch to school.) Number 1: You can control what you eat -- pack healthy foods, things you like, things you know your kids will eat. Number 2: You will save a ton of money!
By fixing lunch(es) the night before, you eliminate the effort and thought you have to put into the task when you're trying to get out the door in the morning, increasing the chance that you'll actually make and take a lunch.

Another bonus...once they are in elementary school, your kids can help, too. Start them off writing their names on the bags, and work them up to bagging snacks, dessert and sandwiches. By middle school, they'll be capable of making their own lunch.
3
) Pay your bills on-line. Everything I know about computers I've learned from someone else. I once met a church business manager who convinced me that paying bills
through my bank's website is a smart thing to do.
I usually put the bills in a file folder as they come in, and twice a month I sit down and pay several at once. I have set up a few bills that have the same "amount due" each month (like my cell phone and 'balanced budget' energy bill) to pay automatically on the same day each month. But the beauty of on-line bill paying is that you can go on-line the day you get the bill in the mail, and schedule the bill to be paid on its due date, and then forget about it. Or, you can schedule the bills to be paid on
your payday, and not worry if there will still be money in your account when a payment clears.
I convinced my 30-something nephew that he needed to pay bills on-line. He would write out the check and put a stamp on the envelope, then tuck the bill in his briefcase or stick it in his car, and forget to mail it. Those late payments started adding up. Now, he schedules the bill when it comes in, and doesn't worry about it again.
4
) Do all of your laundry at once. This contradicts one of the tips I read on that other blog. Some people say you should wash and dry a load of laundry every night before going to bed. Not me! I want to do it all at once, put it away, and not have to think about it again for a week or more. If you do a load a day, you're never done with this chore!!
I sort it all, start the first load, and set the buzzer to let me know when it's finished, and repeat until all the loads are washed, dried and folded. When all four of my kids were living at home, it sometimes took a day and a half to finish all the loads, especially in the winter, but when it was finished, I was finished for a week.
Two hints will make this go even more smoothly: Number 1: Have a laundry basket for every person in your household. Number 2: Fold (or hang) the clothes
as you take them out of the dryer and put them in the basket for the appropriate person. Don't dump them into a basket to fold later. (Clothes get really wrinkled that way!) It only takes a few minutes to 'fold as you go,' and when the last load is out of the dryer, everything will be neat and ready to be put away. As your kids get older, they can begin to help put away their clothes, and by the time they're in middle school, they can haul their baskets to and from the laundry area and put it all away. When they hit high school, teach them how to run a load of laundry, so they can wash sports uniforms or the things they have to have cleaned 'now.'
5)
Be willing to relax your standards when your partner or your kids do chores. It used to drive my friend Peachy crazy when her husband offered to do something, and it wasn't done to her expectations. I finally convinced her that the help was more important than having it done 'her way.' Of course, you want to teach children (or spouses) how to perform a task correctly or well. Remember that it takes people a few times doing something to become successful at it. (It took me nearly 20 years to make gravy that was edible!) Try not to criticize, or rush right in to 'fix' things. Let their first effort slide, and if you really can't stand it, re-do the task in a day or two.
For example, when I was first married, my husband decided to do the laundry. He gathered up all the clothes in our room, including my Pendelton wool suit that I had set aside to take to the dry cleaner, and ran three or four loads of wash. When my suit came out of the dryer, it would have fit a 6 year old. While he had dry-cleaned his suits for years, he didn't realize that my suit need special treatment, too. Even though I was really upset at first, we ended up laughing about it, and it has become one of those 'family stories' that gets re-told every so often. He still pitches in with the laundry after 27 years of marriage. (Remeber my gravy comment? Another family story revolves around the Thanksgiving when even the dog refused to eat my gravy!)
If you haven't picked up one of my underlying themes, I'll spell it out for you:
Teach your children how to do their part to keep your/their house clean. Make it a responsibility. I believe that the nuclear family is the basic unit of a child's social circle, and you need to teach them that they carry part of the load in ensuring the family is healthy and intact.
My kids have hear me say countless times, "Six people live here, and it takes all six people to keep this house clean."
My personal philosophy on raising children is this: we're not raising kids, we're raising adults.
From the day your bring a baby home from the hospital, you are teaching him how you want him to act. In the beginning, you teach him how to sleep in his own bed, how to soothe himself, how to entertain himself, if even for just a few minutes. At six months, you're teaching him how to sleep through the night, how to act around strangers, how to laugh, how not to become frustrated. At a year, you're teaching him how to interact with other children, how not to grab for things, how to say 'please' and 'thank you' and 'goodbye.' At three, you teach him how to behave when he is four, and so on. Some day he will leave your home for good, and don't you think it's important that he knows how to cook, do dishes and laundry, clean a toilet, put gas in the car, and pay bills on time? He won't learn these things unless you teach him. That is one of the best de-stressers out there -- having helpful children that turn into happy, productive adults.
Ok, I'm off my soap-box for a while. Let me know if any of my suggestions work for you!
--Renee

 There is plenty of room to store my dozens of stamp pads. I have this thing about ink -- I want to have every color, so I can match it to cardstock, embellishments or my general mood. The "color index" cards hang right next to the pads. It takes just seconds to find the right color for my projects. There is room for the re-inker bottles, too.
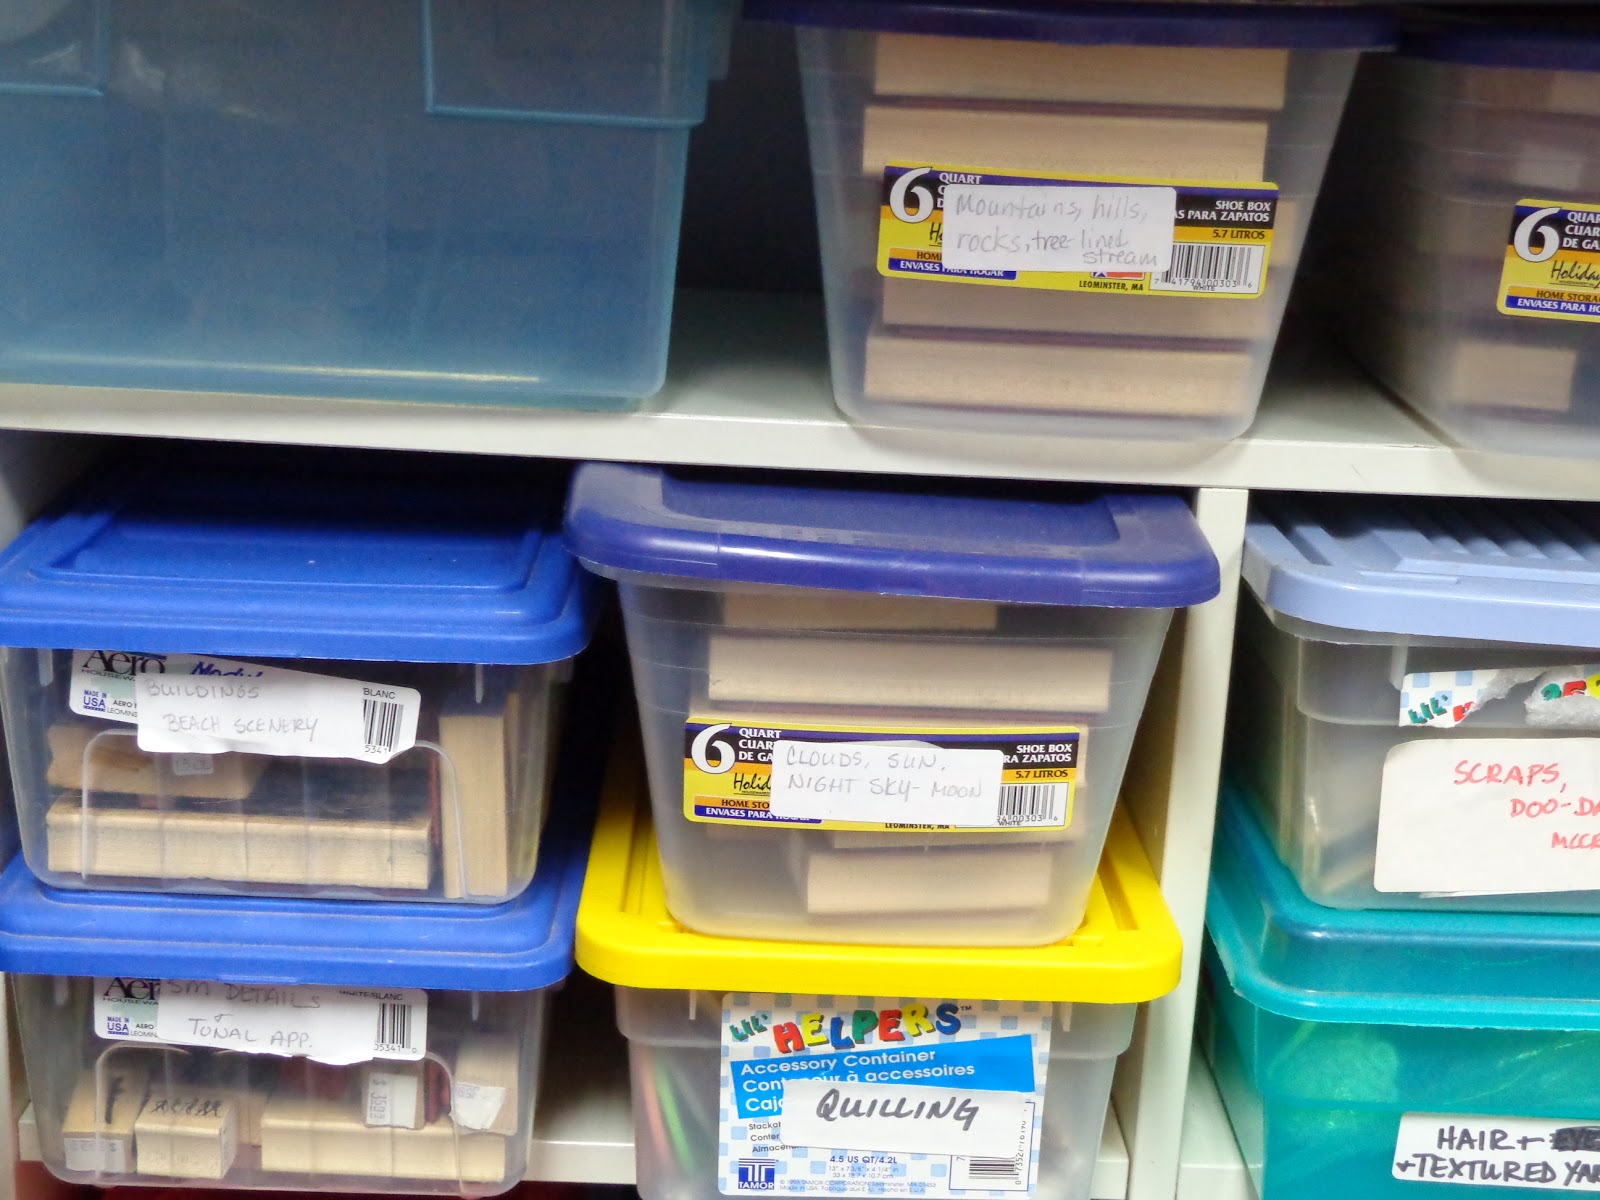
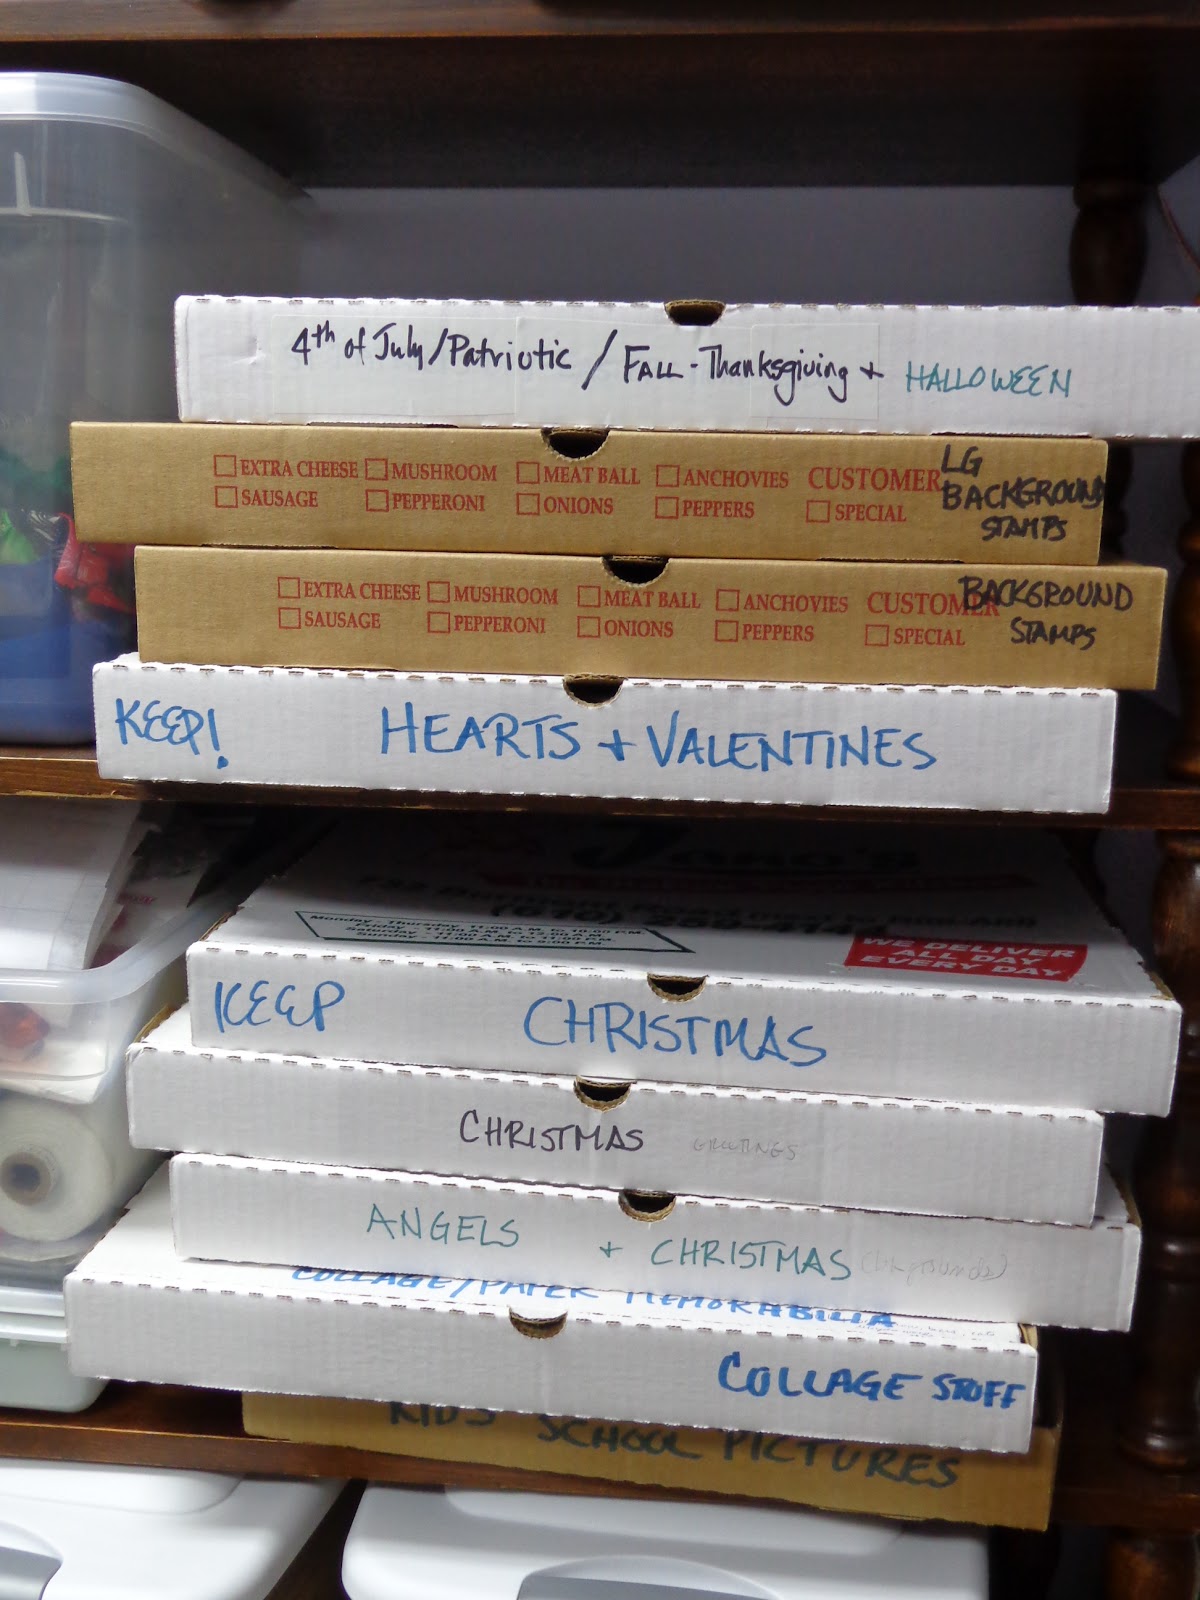 TheNot all, but a lot of the rest of my stamps were sorted into general categories, mostly by holiday. I ran down to our local pizza shop and sweet-talked them out of a few new boxes, and labeled each one. I love pizza boxes as a storage solution-- the stamps are in one layer, so you can see everything in the box, and the boxes stack well on the shelf. When I start to work on Christmas cards in a few weeks, I'll just get out those two boxes, and I can see everything I have to work with. I enjoy scenic stamping, and had the opportunity to buy series one and two of Stampscapes stamps by Kevin Nakagawa. (http://www.stampscapes.com/home.html) I keep these stored together -- sorted, of course, by the type of scenery -- in clear plastic shoe boxes. There are so many really tiny stamps that the pizza boxes didn't work as well as shoe boxes.