Not too long ago, I moved from my tiny little basement sewing studio into much bigger space up in the attic of my home. The new room is 10' x 15', but because of the slope of the roof, it has just two 'tall' walls. While I would love to have floor to ceiling shelving on all four walls, that just isn't possible. Further, there are two windows on one 'tall' wall, and the door to the room on the other.
I found that I had to get creative on storage solutions for my rubber stamping supplies (not to mention the sewing and beading stuff).
I like to re-cycle and re-purpose things. One of my favorite places to find storage options is at a store that is closing and selling their displays. When a national bookstore chain was closing, I popped in to see what kind of displays they had, and found this four-sided, spinning unit, with small, divided shelves. I have no idea what was displayed on it, but it is perfect for rubber stamps and ink pads!

It takes up just one foot of floor space, but needs about another foot around it so it spins freely. The base was originally 16 inches tall, but my d.h. was kind enough to cut it in half, making the case a better height for me.
 There is plenty of room to store my dozens of stamp pads. I have this thing about ink -- I want to have every color, so I can match it to cardstock, embellishments or my general mood. The "color index" cards hang right next to the pads. It takes just seconds to find the right color for my projects. There is room for the re-inker bottles, too.
Most of the stamps I store on this display are 'words and sayings' that I use for cards. I'm a true believer in labeling, so I sorted through the stamps and categorized them, then got out my trusty Casio Label Maker and labeled each shelf. It really makes finding the right stamp easier!
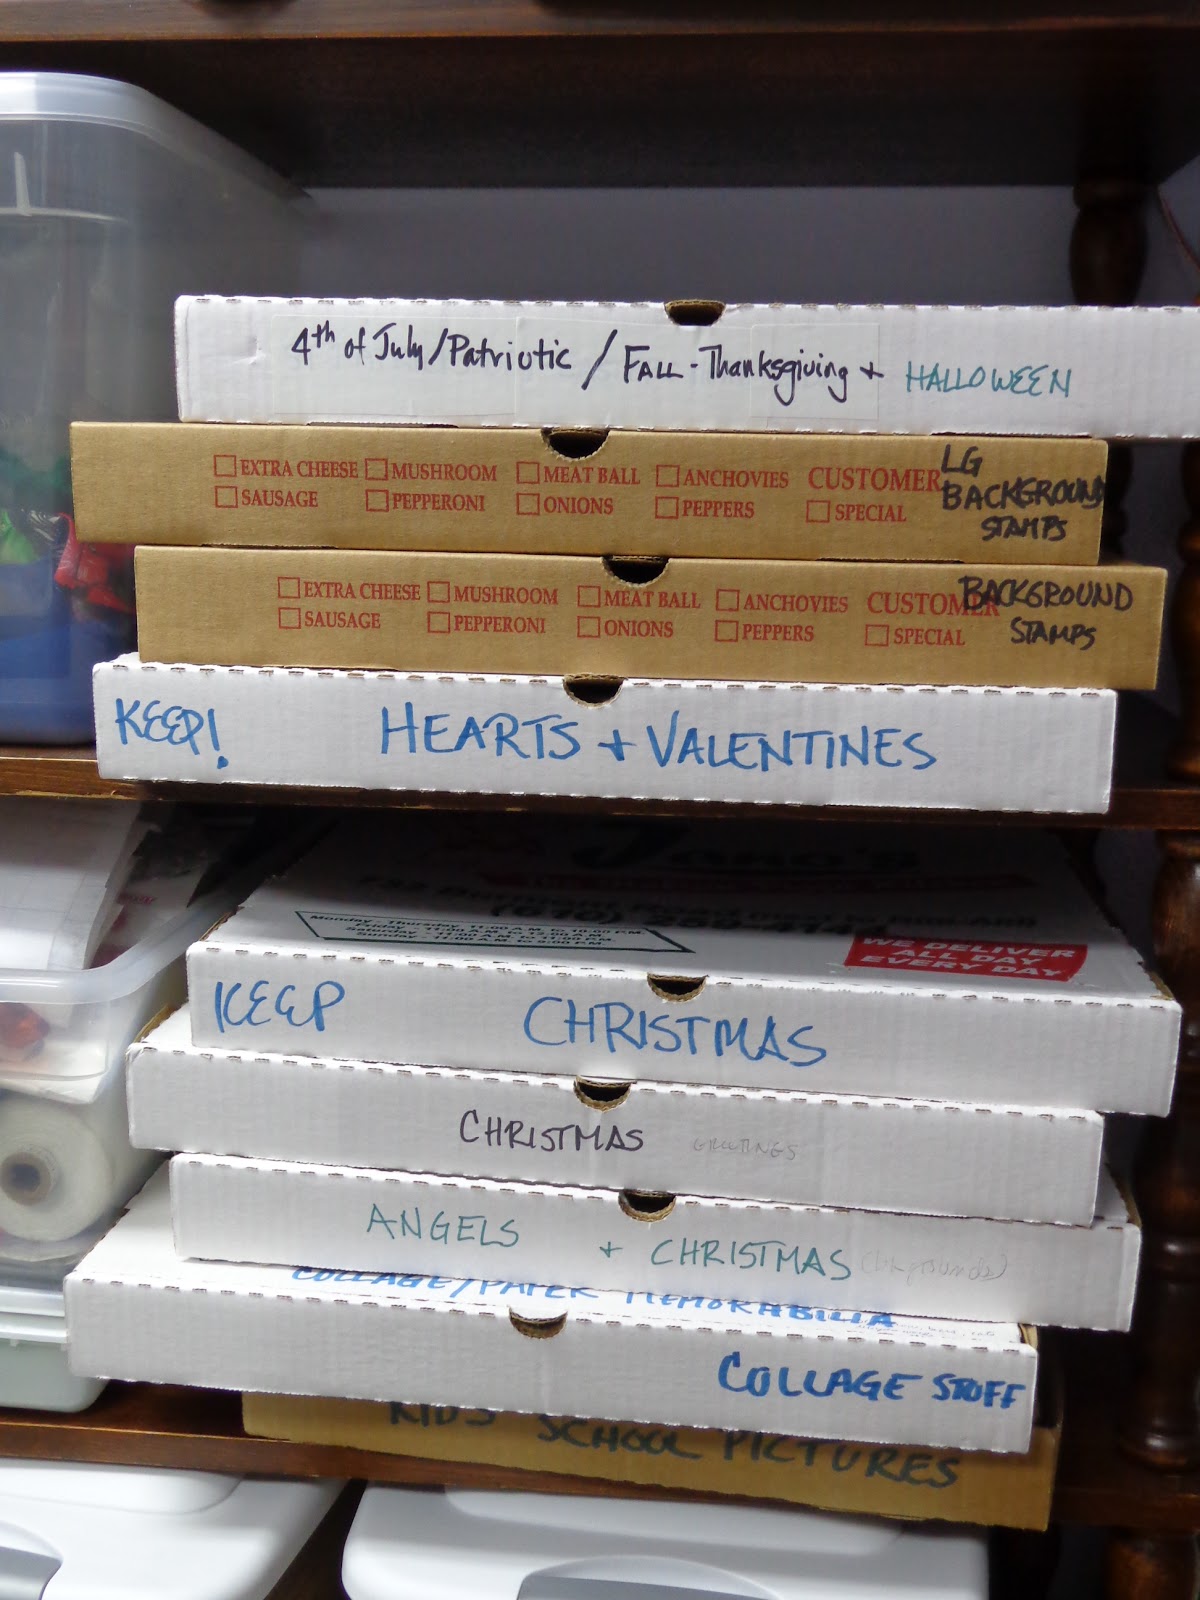 TheNot all, but a lot of the rest of my stamps were sorted into general categories, mostly by holiday. I ran down to our local pizza shop and sweet-talked them out of a few new boxes, and labeled each one. I love pizza boxes as a storage solution-- the stamps are in one layer, so you can see everything in the box, and the boxes stack well on the shelf. When I start to work on Christmas cards in a few weeks, I'll just get out those two boxes, and I can see everything I have to work with. I enjoy scenic stamping, and had the opportunity to buy series one and two of Stampscapes stamps by Kevin Nakagawa. (http://www.stampscapes.com/home.html) I keep these stored together -- sorted, of course, by the type of scenery -- in clear plastic shoe boxes. There are so many really tiny stamps that the pizza boxes didn't work as well as shoe boxes.
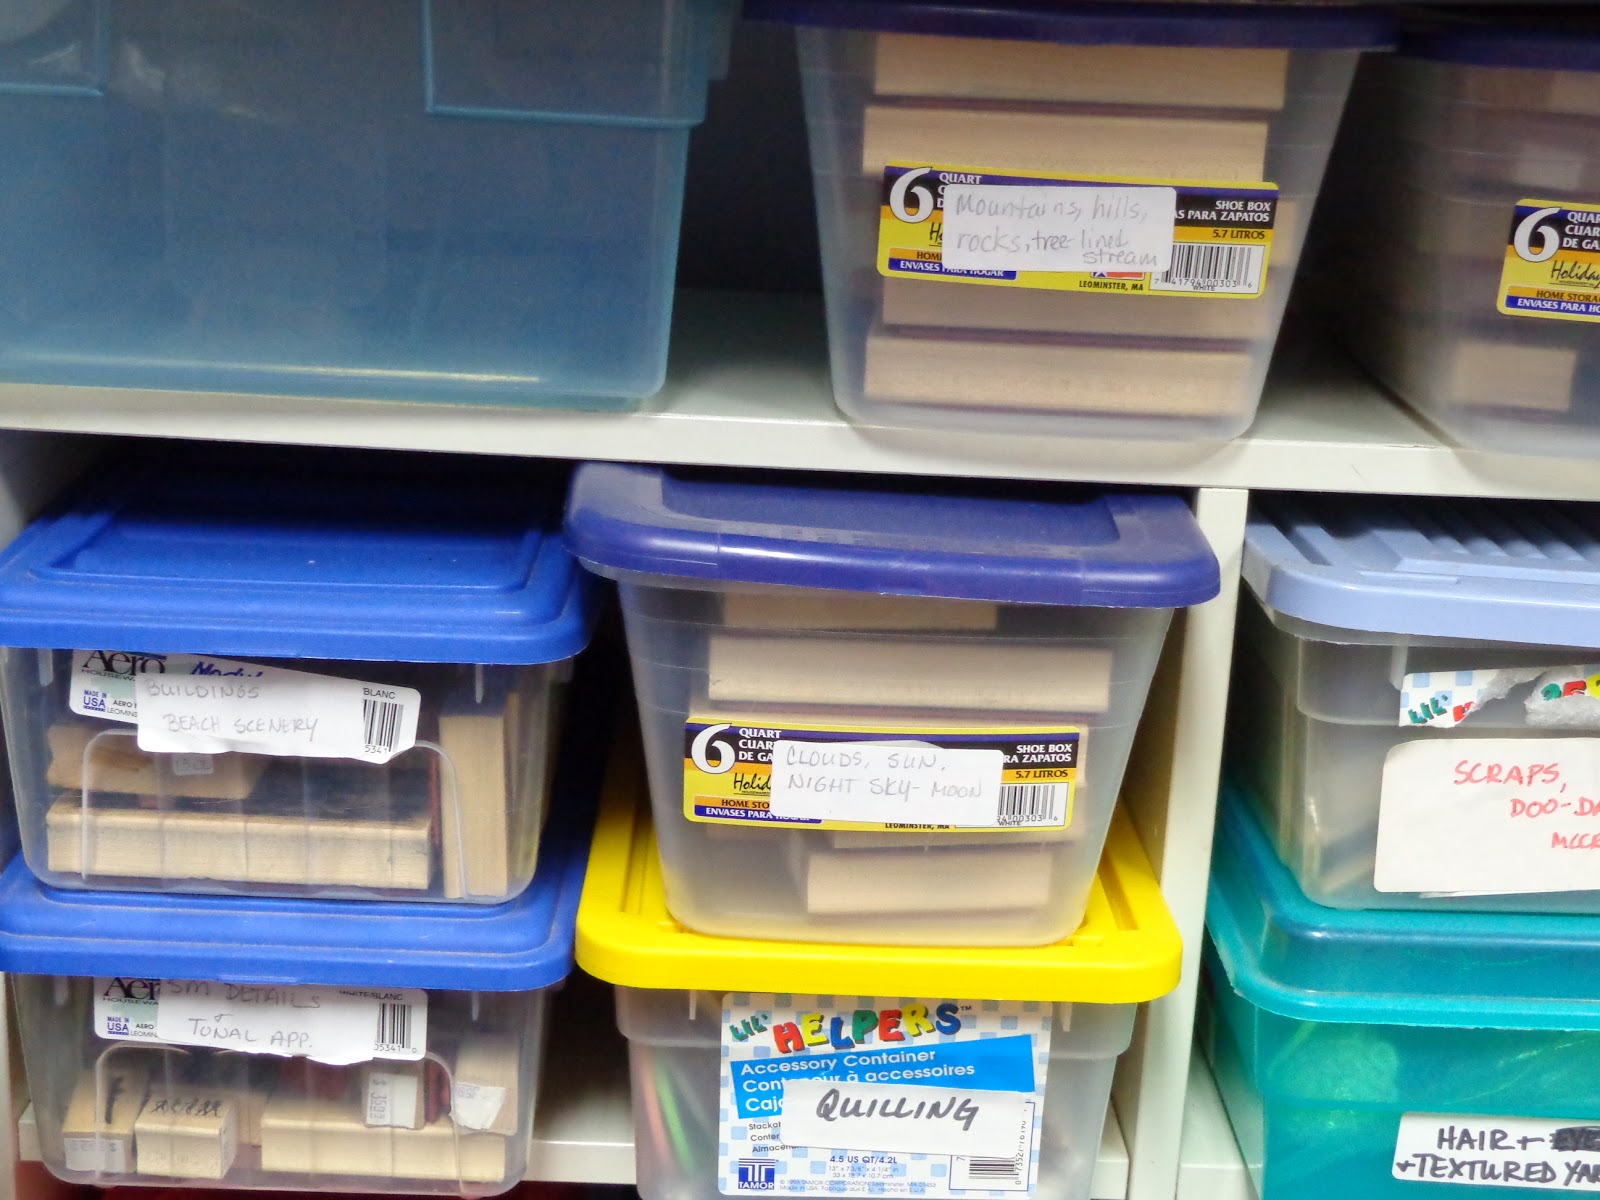
Check back later this week to see the different ways I store embellishments, ribbons, sewing and beading supplies, and try to make the most of my studio space! Maybe something I have tried will inspire you!
No comments:
Post a Comment