
I saw this really cool photo (above) on Pinterest, but, as happens to me a lot, when I clicked on the page for the photo, there were no directions there. (The page was in Russian!)
I went back to Pinterest and narrowed my search, using the name of the beads used in the project (long magatama). After scrolling down a bit, found Barbara's name and a link to a website where I could purchase the directions (http://stitchboard.com/mall/showItem.php?in=10222)
It costs $10, which you pay via paypal, and then the website sends you a link to download a PDF file of instructions.
After teaching beading and writing instructions for nearly 10 years, I can tell you that Barbara knows what she's doing. Her step-by-step instructions were thorough, had excellent graphics and had been tested for clarity.
And, for this project, she knew to say the skill level was for intermediate to advanced beaders. Take my word for it...she's right! This is not a project for beginners!
Long magatama beads are elongated, and have a hole toward the top. They have a right and wrong side, and this pattern requires that you know the difference.
 |
| The bead on the left is right side up, the bead on the right is wrong side up. |
Some beads are picked up on the needle 'right side up' and others are picked up 'wrong side up.'
What makes the piece look like a pinecone is the shape of the beads, all pointing in the same direction. The beading went quicker when I sorted the beads into two piles, one pile right side up, the other pile wrong side up.
 |
| Rights side up beads on the left, wrong side up beads on the right, made it easier to follow the directions. |
The starting row of this project is ladderstitch. Subsequent rows are worked in brickstitch. One thing I discovered is that the tension on this project is loose...if you pull the thread too tightly, the beads will flip, over. Most projects I've done require a tighter tension. As I added each bead, I held it in place right side up with my left thumb as I stitched through it. It's a little awkward, but, as I said, the beads tend to want to flip over until you get them locked into place.
As the pinecone grew longer, it was getting 'squishy,' I fixed that by dropping a 10mm bead in the center of the cone. Just having that filler bead in place made adding the rows easier.
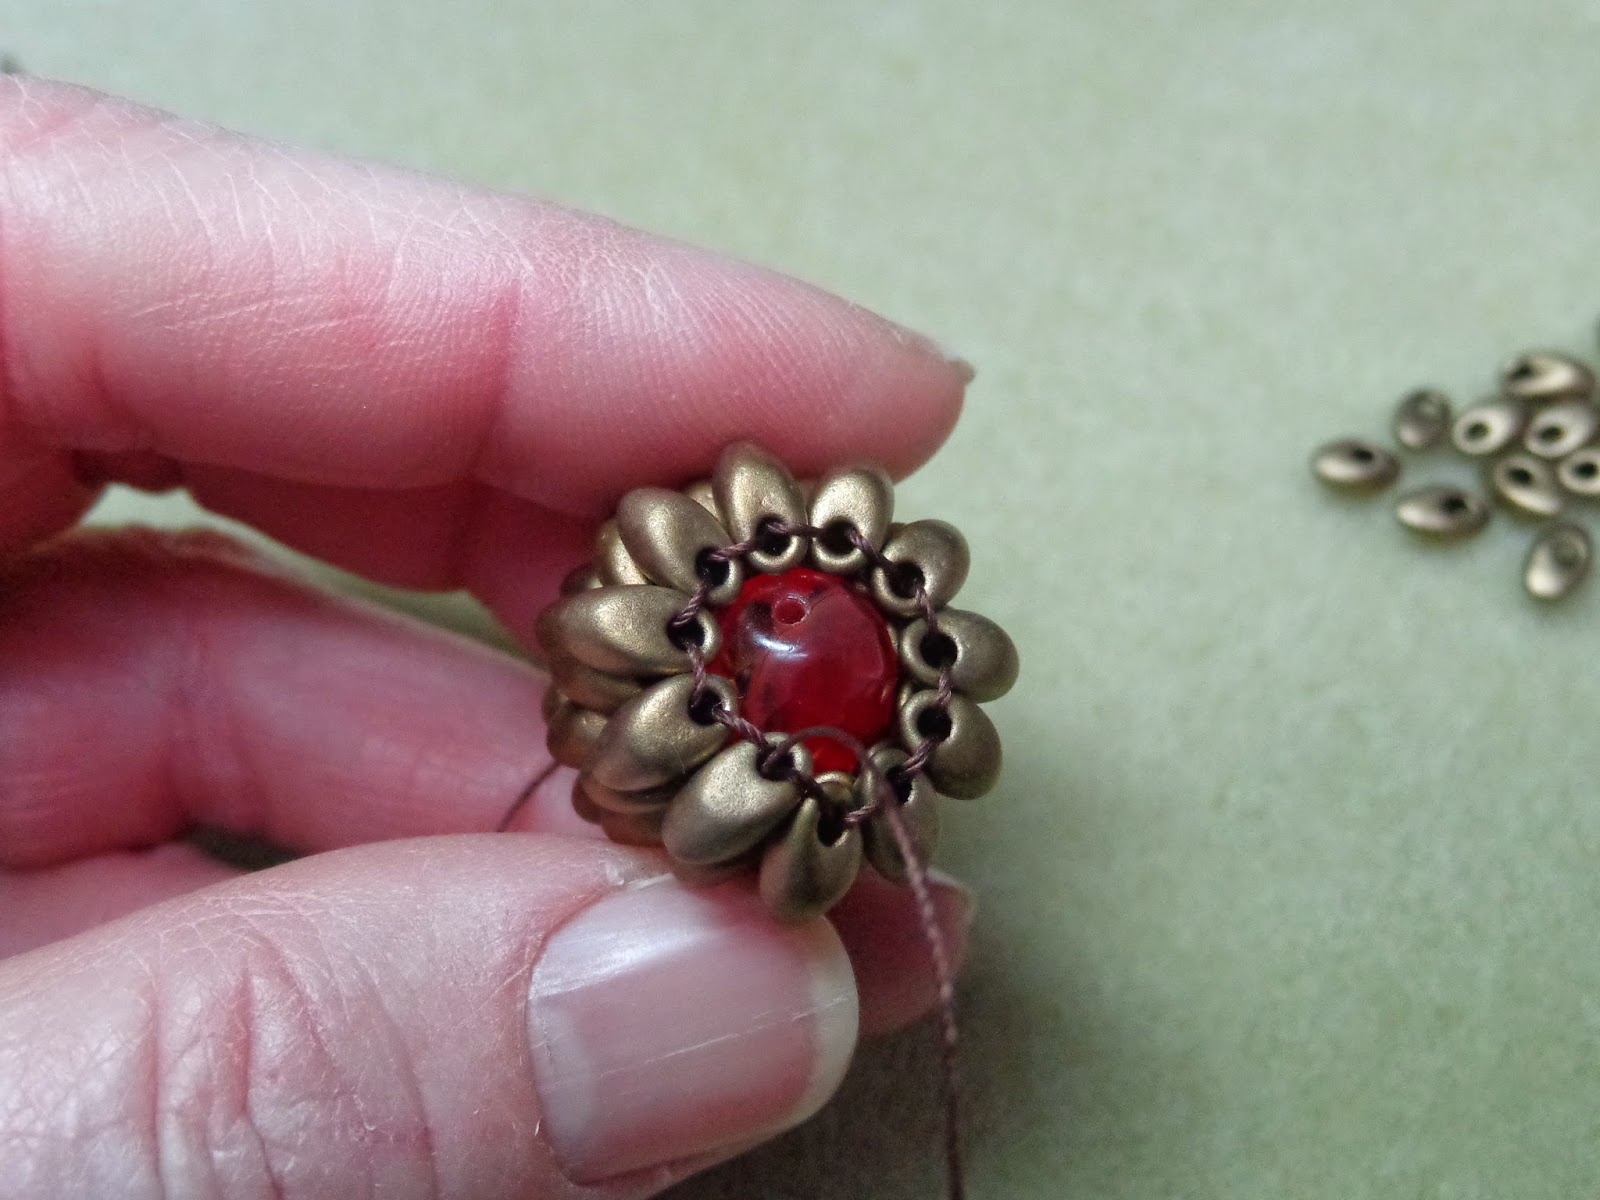
I ended up leaving the bead inside the pinecone, just to give it some 'stuffing' to hold its shape. You can't see it on the finished project, so I will continue to add a bead when making more pinecones.
One other note about Barbara's directions...she says "you work from the top of the pinecone downward, but you hold the pinecone upside down as you work it."
This is opposite of how I would describe a pinecone. I think the TOP of a pinecone is the part attached to the twig on the tree, and the BOTTOM is the pointy part at the other end. If you think of it the same way as I do, you will be working from the bottom of the pinecone toward the top, in which case it isn't being held 'upside down,' as the instructions say. I mention this so you don't wonder why the pinecone 'leaves' are laying the wrong way. If you follow the directions, it will turn out fine...the top/bottom description is a bit confusing.
Oh, the bead cap with the wire wrapped loop at the top was added by me so the pinecone could hang, either as an ornament or as a pendant. (See, I called it the 'top.' Barbara would call it the bottom!)

The project took about three hours. I can't wait to get some other colors of long magatamas and try this again!
Absolutely gorgeous!!!
ReplyDeleteI'd give it a definite thumbs up! Too tricky for me yet but as soon as I feel ready, I'll try it. Fhey do look alot like the young pinecone before it opens up. Thabks for sharing.
ReplyDeleteThey are really cute, I made one, but could see some of the beads were going the wrong way. The beads in the middle helps a great deal to keep it uniform. I'm just all thumbs with this project and can't seem to master it
ReplyDelete